
How to build a stunt engine
In part 1 I explained the basic modifications for a stunt bike. In part 2 we will go into the advanced modifications that allow you to do stunts that are not possible on a standard bike.
Send
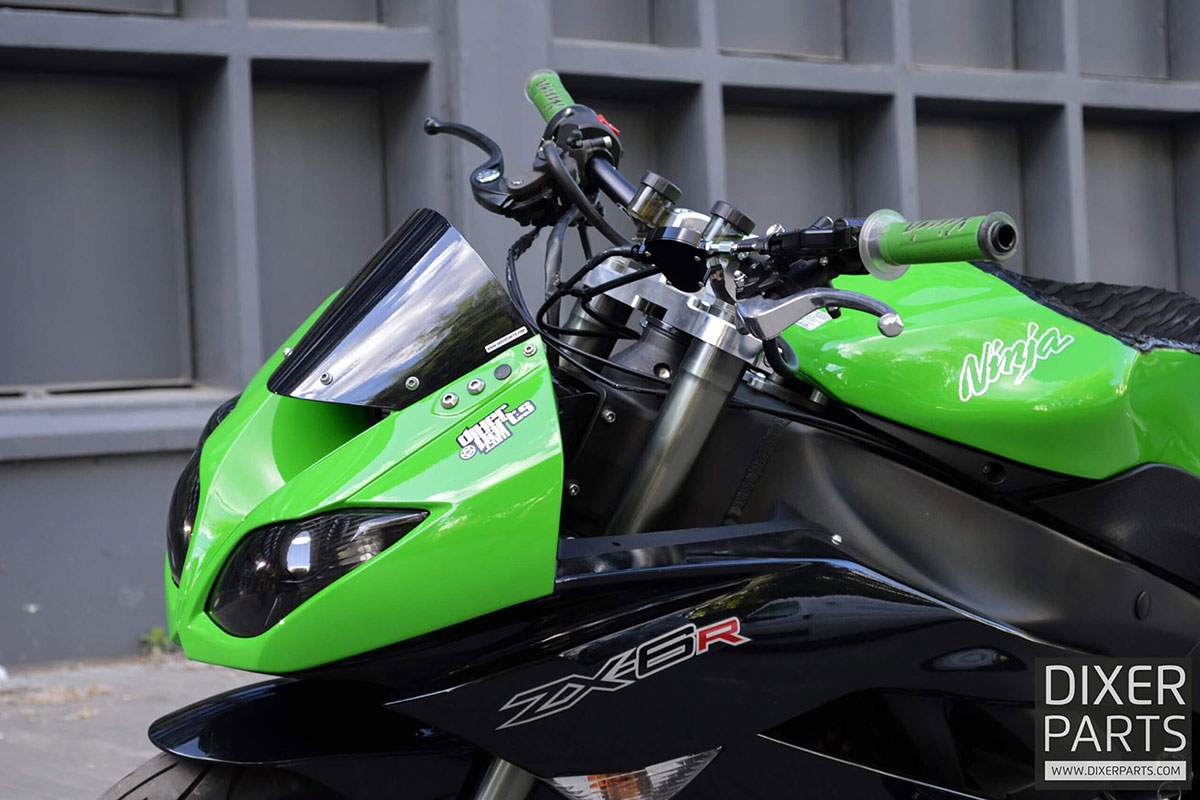
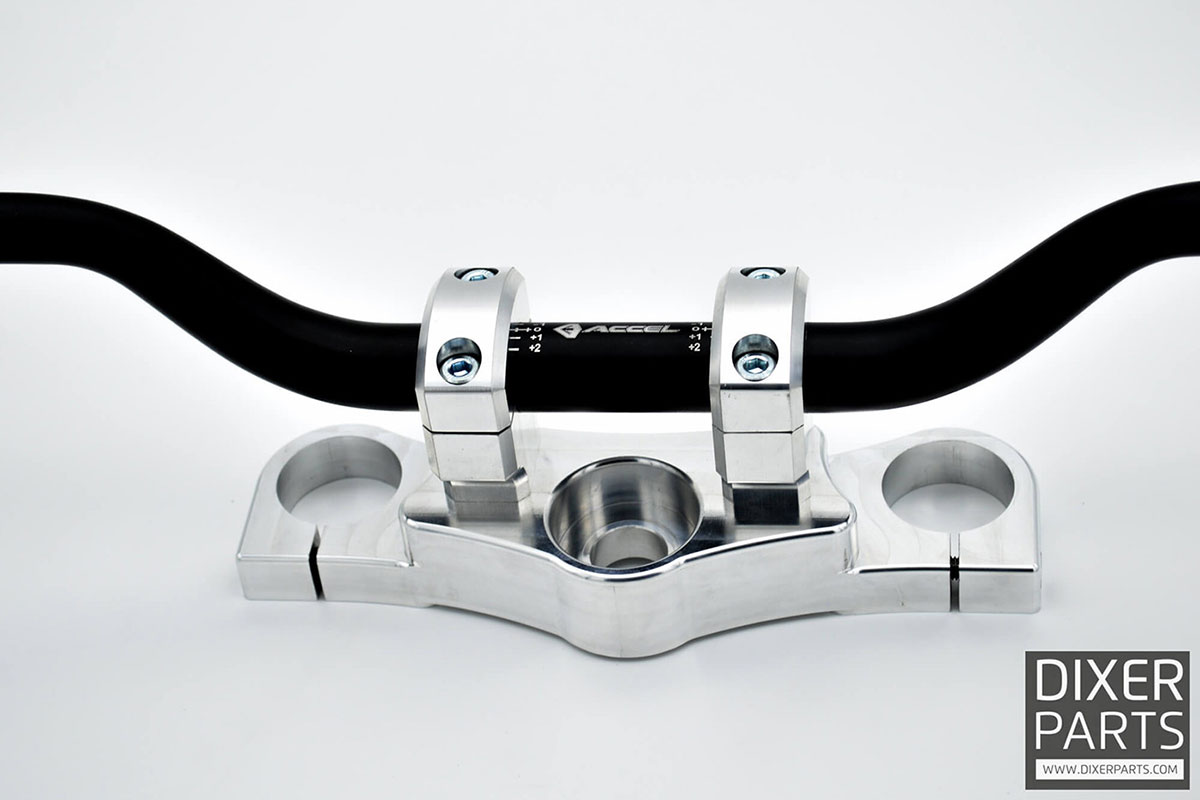
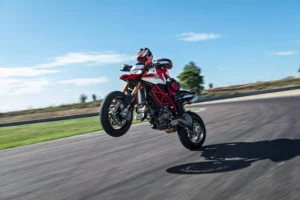
During wheelies, the seating position is extremely important. Most of the motorcycles discussed in this blog are equipped with clip-ons as standard, which means that the seating position is bent forward. That is why these are often replaced by cross handlebars or stunt clip-ons.
The latter are the easiest solution because the throttle and clutch cables do not need to be replaced. These stunt clip-ons are fully adjustable, both in angle and height.
I personally prefer cross handlebars because they are wider than clip-ons and provide a more upright seating position. If you have a motorcycle that originally has clip-ons, the triple clamp will need to be modified. It is also possible that the original throttle and clutch cables are not long enough.

Clutch lever
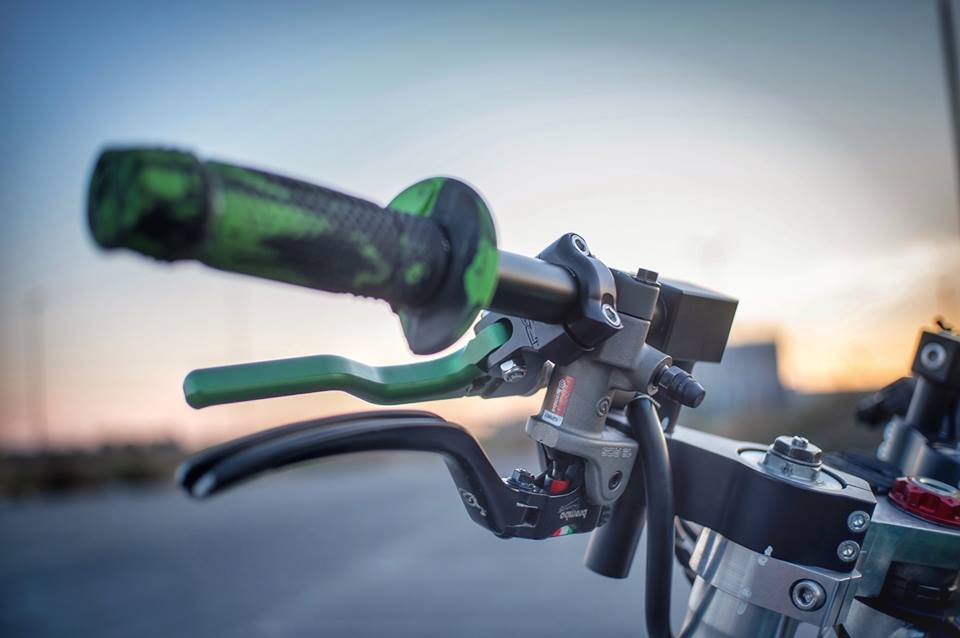
The clutch lever is only a small adjustment, but one that is very important. A so-called “easy-pull clutch lever” is not only shorter, it makes the clutch feel about 50% lighter. No unnecessary luxury if you pull a wheelie a few hundred times a day!
An additional advantage is that you can now operate the clutch with 1 finger, so you have more grip on the handlebars with your other fingers.
It is also very important, especially when riding at a raised idle, that you always keep your finger over the clutch lever. This way you can intervene immediately if something goes wrong, you don't want your bike to take off without you!
The final reason to fit a short clutch lever is so that you can use it in combination with a handbrake. You can then operate the clutch and handbrake at the same time, each with 1 finger.

Handbrake
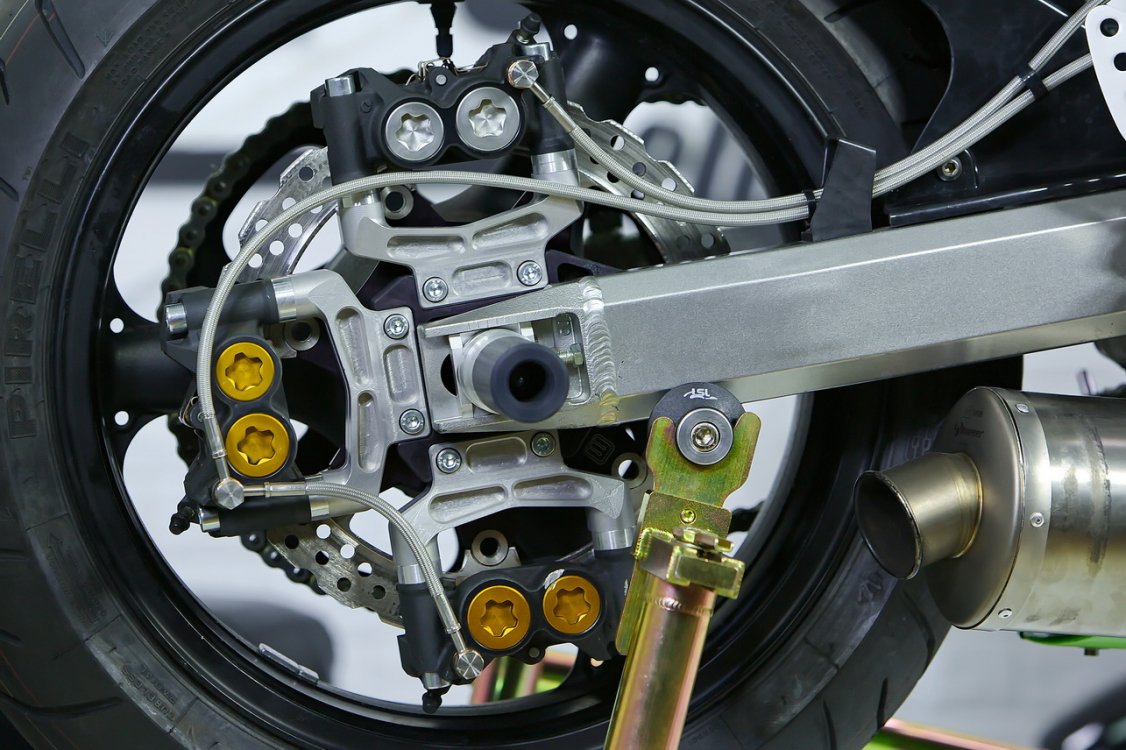
With a handbrake you can do stunts that are not possible on a standard bike. As you know, the rear brake is the most important part of the bike for making wheelies. But with only the foot brake you are somewhat limited, because you always have to make sure that your foot is above the brake. A handbrake offers a solution here, because now you also have a rear brake on the handlebars, you can for example swing your legs over the handlebars and still do controlled wheelies.
There are several ways to mount a handbrake, you can choose an extra brake caliper at the back. Or you can choose a loop-through system, where the handbrake and the foot brake are both on the original brake caliper. The latter is the cheapest, but there are some disadvantages.
When you do intensive wheelies the rear brake gets very hot. It is therefore an advantage if you have 2 brake calipers so that the heat is distributed somewhat.
The original rear brake caliper is usually a 1 piston caliper, sufficient as a foot brake. But because we want to operate the handbrake with 1 finger (middle finger), a copy with a bit more bite force is recommended. Often even 2 brake calipers are used in series for the handbrake.
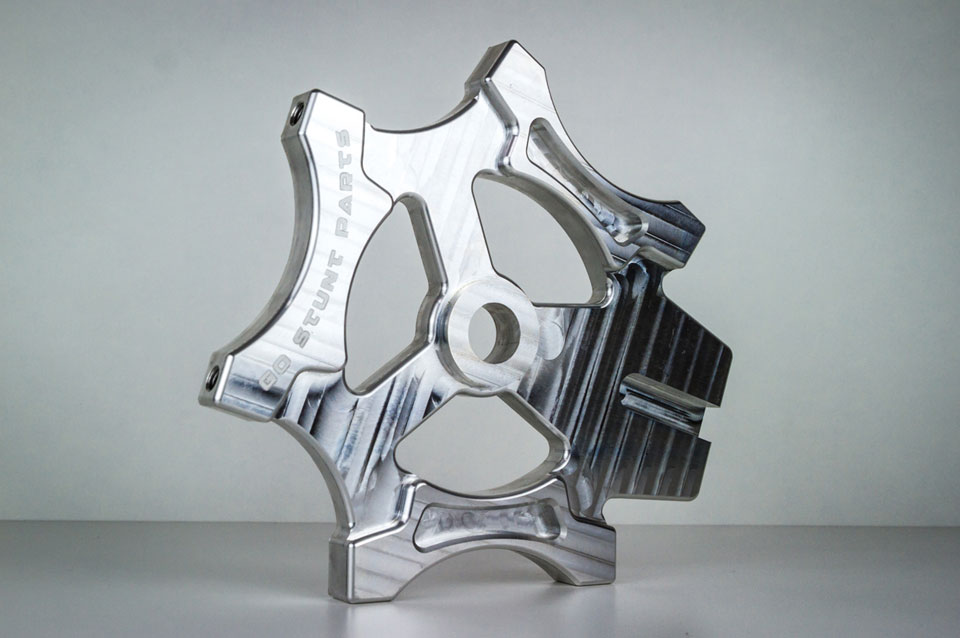
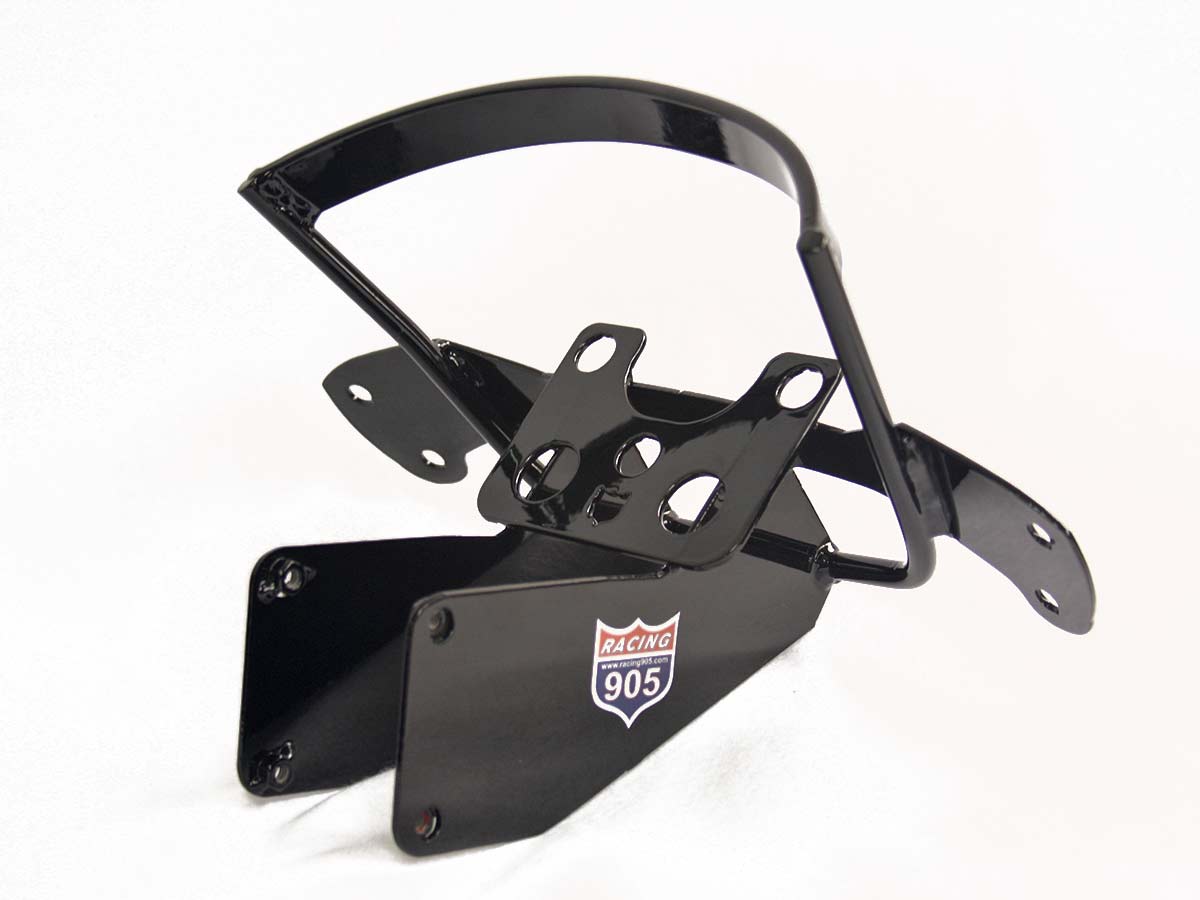
To mount a 2nd or 3rd brake caliper you need an adapter plate, a so-called “handbrake bracket”. This replaces the original rear brake adapter. There are many options on the market, so you can keep the original foot brake, but you can also replace it with a radial brake caliper.
The rear brake disc is also often replaced by a larger one, this increases braking power and also ensures better heat distribution.
For optimum dosage of the brake, a radial brake pump is the best choice. These are available in different diameters, a smaller diameter is somewhat better to dose and a larger diameter gives somewhat more braking power. The most commonly used sizes are 13mm and 16mm.
Of course you will still need a long brake line from the handlebars to the rear brake, these are usually around 2 meters in length and have to be made to measure.
Gasoline tank
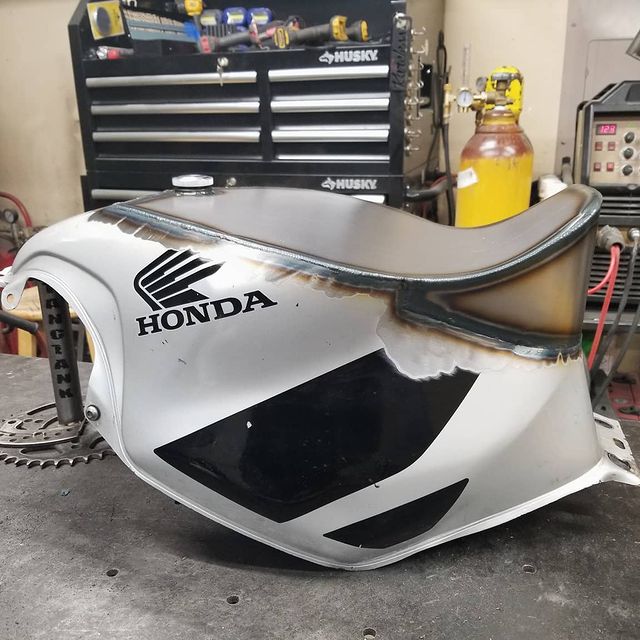
If you want to do wheelies while sitting on the tank, you can modify it for this. Standard fuel tanks are usually a bit convex, which makes it easy to slide off. You can dent the fuel tank with a rubber mallet, but this requires patience. Dent too much at once and the tank can crack.
A nicer way is to have a piece welded in, you can then model the tank as desired. That way you have a raised edge and you can better sit, stand, etc. on the tank...
As a finish you can provide the tank with so-called "tank grip". This is a self-adhesive foam that you also find on surfboards, for example. This gives you more grip on the tank and you stay better in place.

Frame
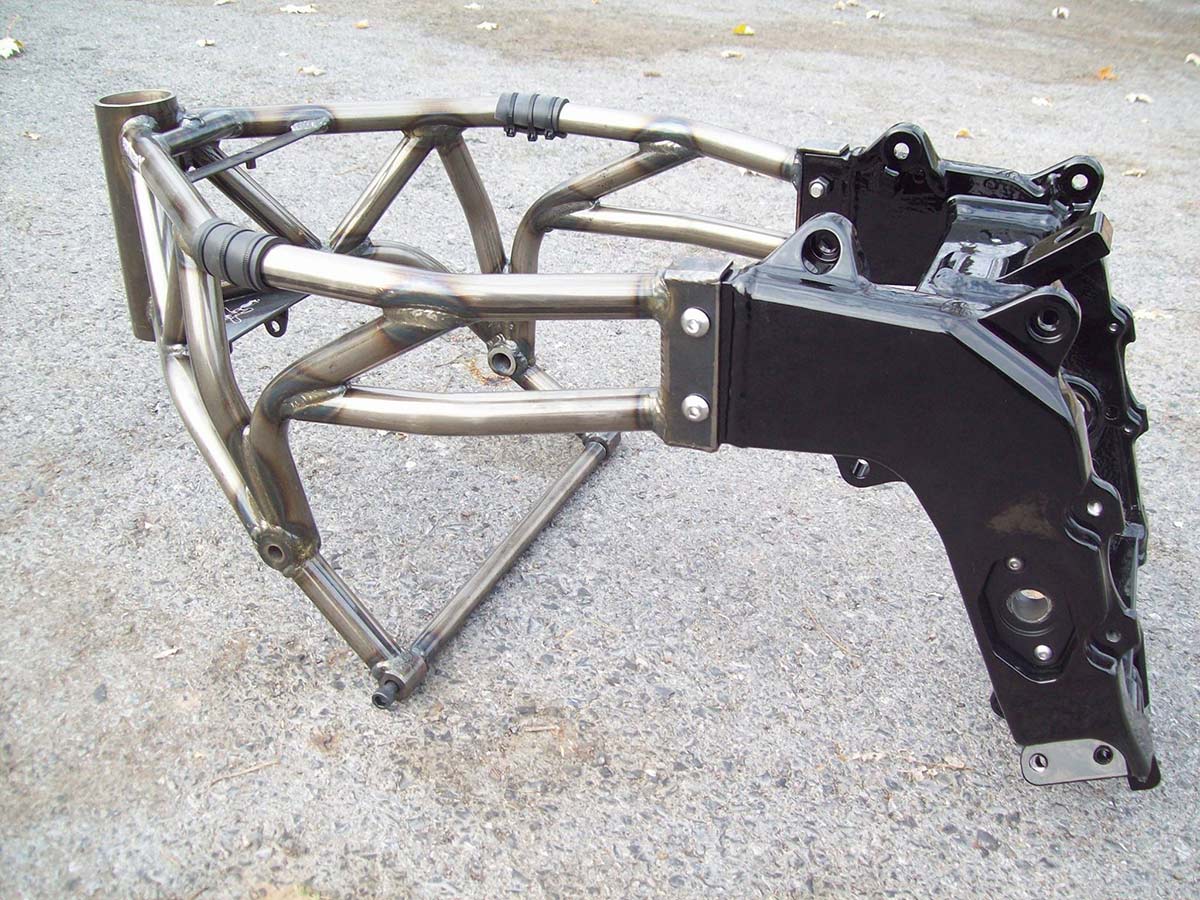
As discussed in part 1, some models are prone to frame cracks, especially around the engine block mounting points. This is because the fall protection is also mounted at these points. These sometimes take a beating during falls.
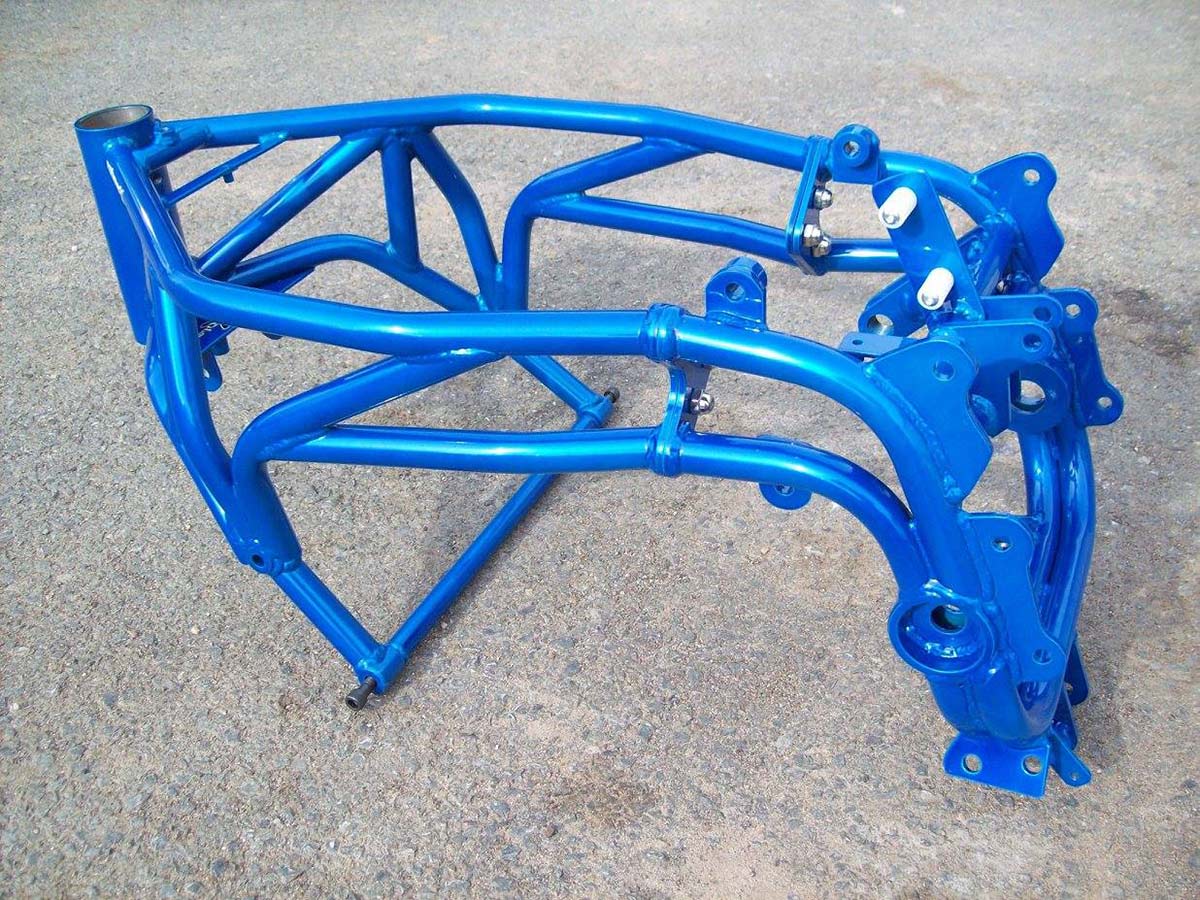
The original frame is made of aluminum, lighter than steel but weaker. That is why there are steel replacement frames for the most common stunt bikes. A steel tube frame is a bit heavier, but many times stronger than the original aluminum one.
Steel frames are available as a “half frame” where the original frame is sawn through and only the front part is replaced. Or a “full frame” where the entire frame is replaced.
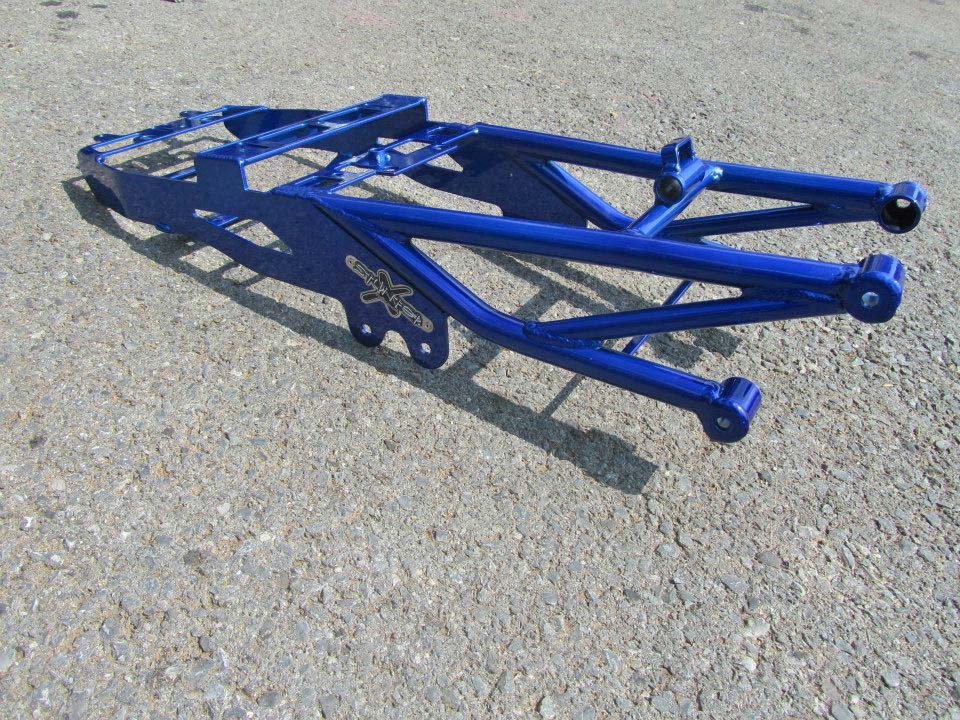
The rear part, the “sub frame” can also be replaced by a steel version, which is definitely recommended if you do a lot of 12 o'clock wheelies.
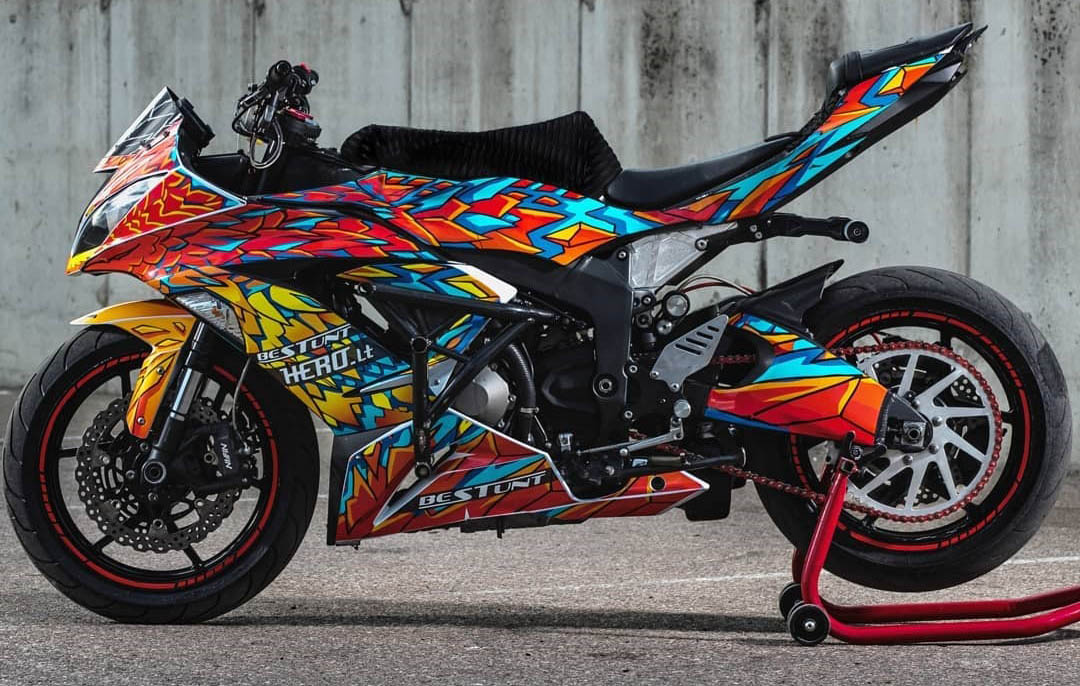
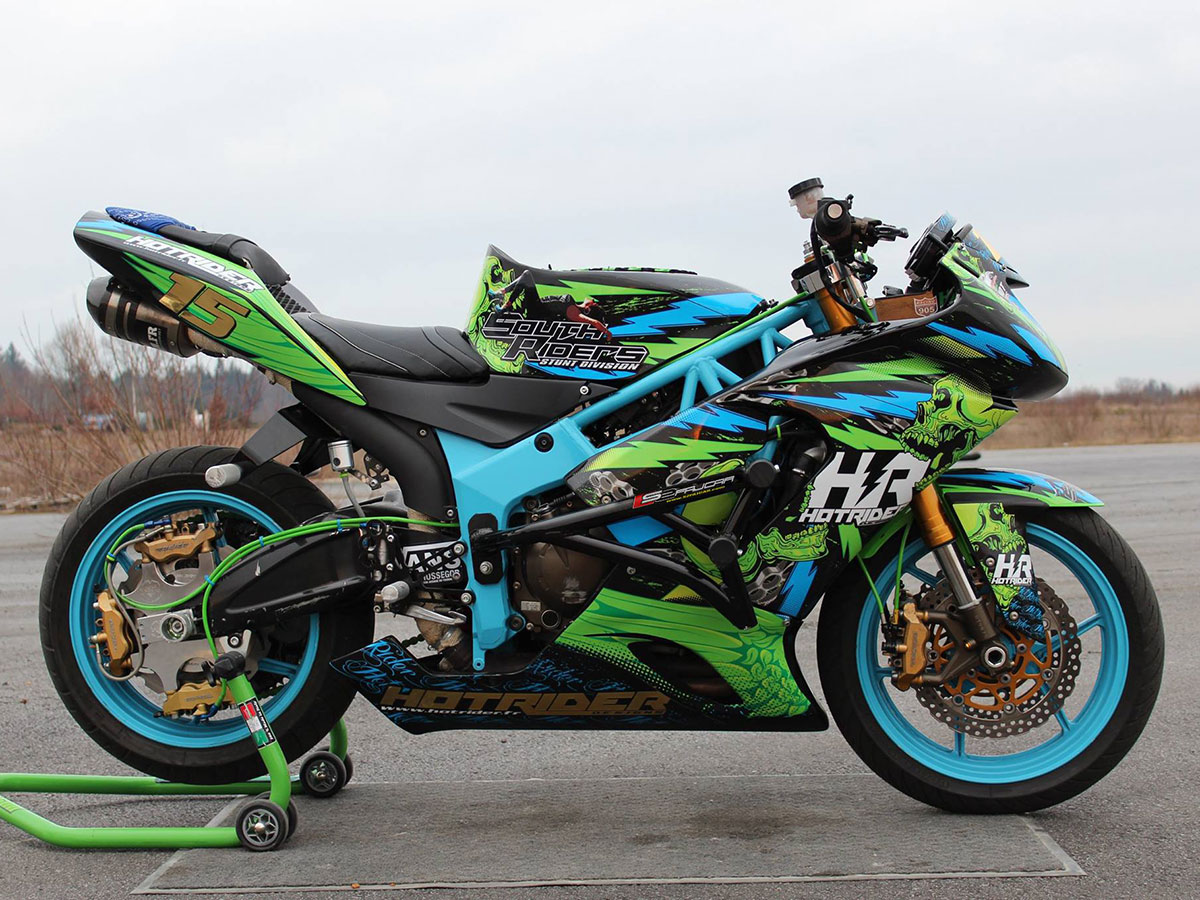
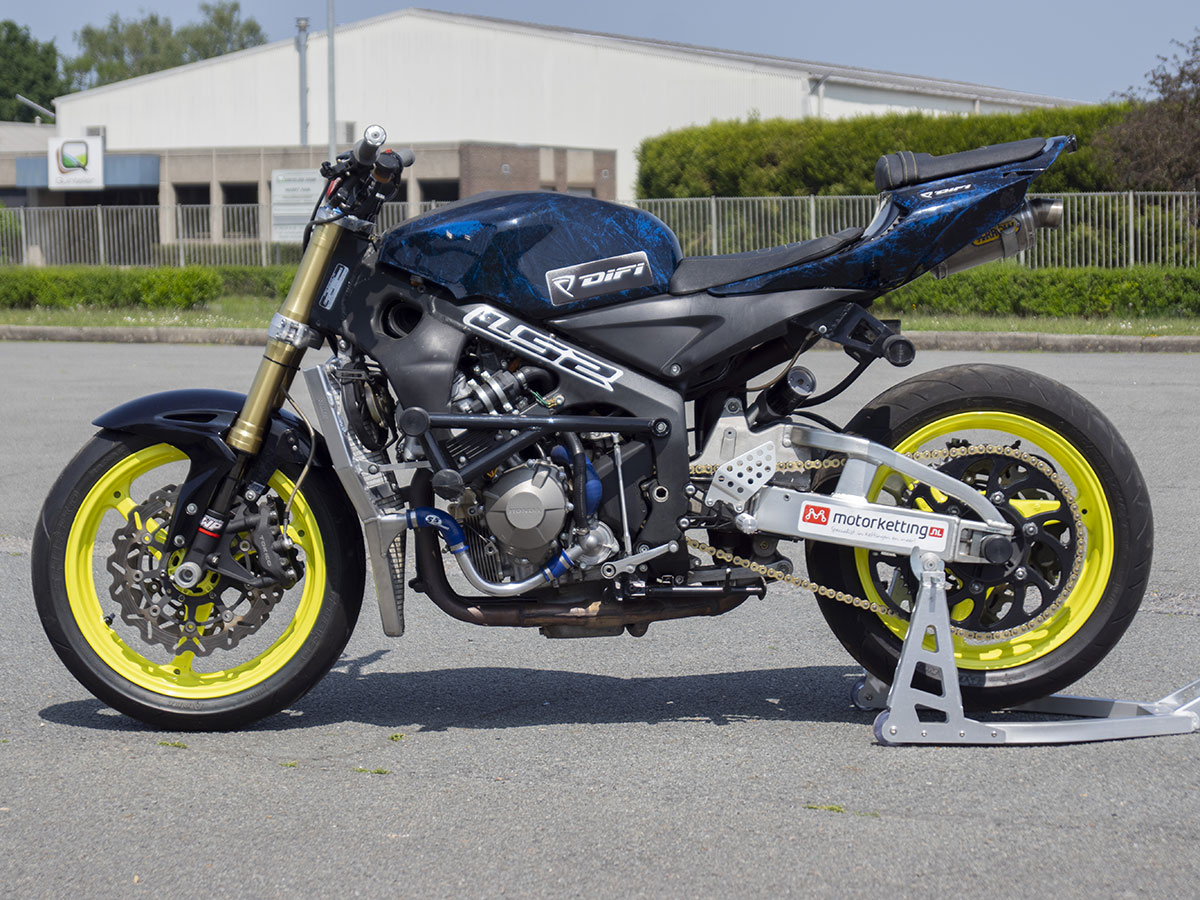
Full fairing or naked?
Now that you know all the requirements to build the perfect stunt bike, one last question remains… Are you going “full fairing” or “naked”?
Full fairing is with the full fairing, looks cool and most like a standard bike. But maybe not the best choice if you are just starting out with stunt riding. The bike will probably hit the ground a bit more often, which can lead to broken fairing parts.
Naked or the streetfighter look is more suitable. If you go for full fairing, you can also mount a “stunt stay”. This is the bracket with which you attach the fairing to the frame. Due to sometimes hard landings during wheelies, the original bracket can break off.
Conclusion
After reading both parts of this blog, a stunt bike will hold no more secrets for you. Whether you are a beginner or an advanced wheelie master, with the tips discussed here you can take your stunts to a new level!
Hopefully you found this article interesting and it helps you on your way to building the ultimate stunt bike!
Do you have any questions or comments? Please leave a comment below.
7 Responses
For which A2 motorcycle (preferably sports motorcycle) do you find the easiest stunt parts? The stunt scene in Belgium is not that big and you will soon only come across parts from America.
Hi Miro, there are several A2 motorcycles for which stunt parts are available. For example the Kawasaki Ninja 650, Yamaha MT-07 or the Kawaski ER6N.
Good web shops for parts are among others Jokeriders in France or Dixer Parts in Poland. Good luck!
Can you give me some advice on how I can get a 2nd clutch (cable) on an r1 with super bike handlebars?
I am thinking of a cable splitter but can't find if they exist? Or is it better to use a whole extra cable but how do I connect that to the coupling on the block side?
Please advise!
Hi Armit, why would you put a 2nd clutch on your handlebars? I have never seen this before so I don't have a solution for that.
I was paralyzed on the right side in a motorcycle accident. Fortunately, I now ride a motorcycle again with everything on the left, where the front brake is now located on the position of the clutch and the clutch has been moved to the inside of the handlebars. I operate this with my thumb. My gas is now also on the left. What I miss is that in city traffic and secretly also for trying wheelies again, I cannot operate the clutch well with my thumb in combination with the gas. You then quickly give gas.
Ik wil een 2e koppelingshendel op mijn motor plaatsen. Hoe kan ik dit het beste doen ?
Een geheel nieuwe kanfk trekken en deze dan dan aan de blikzijden op de een of ander manier erbij zetten. Hebben jullie hier tips in ?
Of de koppelingskabel aan stuur zijde op de reeds bestaande kabel aansluiten? Hebben jullie hierin tips? Geen idee of er een kabel splitter bestaat?
Now it seems useful to me if I also had a finger clutch for fine operation while driving.